


HDMI/SDI Two-way Converter
MIG-2134
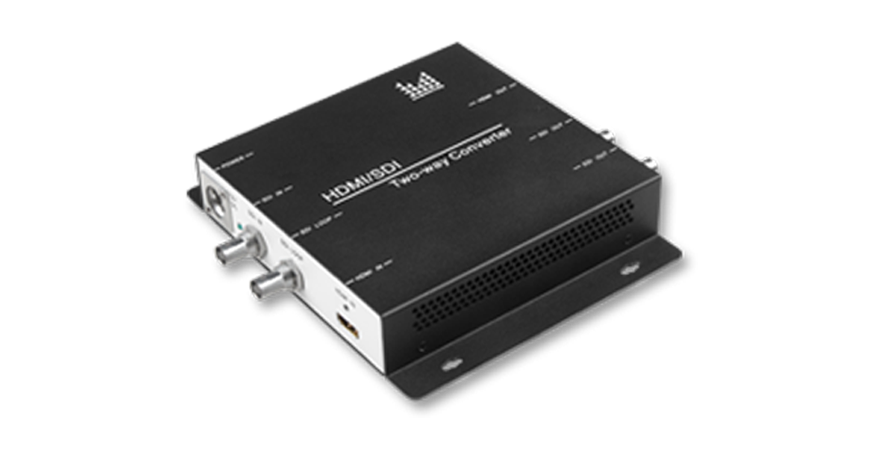
Product features
Supports DVI signals of various resolutions to convert high-definition SDI signals,
with clear images, rich colors and more powerful performance.
1: Any DVI input resolution
2: Multiple SDI resolution output
3: Audio input, embedded SDI output
 粤公网安备 44030502003429号